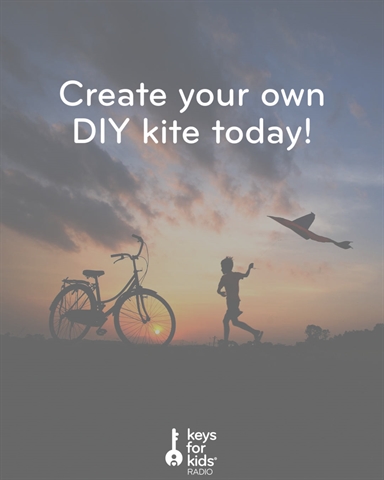
How to Make a DIY Kite in 8 Easy Steps!
Flying a kite is a classic activity for the spring. I used to have this massive shark-shaped kite that I flew like a hundred feet in the air!
A big kite from the store can get pretty expensive, but you can make your own kite. Doing it yourself can be just as fun as flying it. With a few simple household items, you can create your very own kite to fly on a windy day.
As ever when doing a craft project, make sure you have a trusted adult helping you!
Materials needed:
- A plastic grocery bag or large tissue paper
- Two wooden dowels or sticks (one should be slightly longer than the other, between 24 and 36 inches)
- A sharpie or pen
- Scissors
- Tape
- String or twine
- Streamers or ribbons (optional)
Instructions:
- To begin, measure and draw a diamond shape on the plastic bag or tissue paper. Make sure the diamond is the appropriate size to fly but not too large to handle.
- Pro tip: lay down your paper on the floor, then lay down your dowels on it in lower-case “t” shape, so that the centers of both dowels overlap.
- Then using the sharpie, draw straight lines on the paper from one end of a dowel to one end of the other dowel, going counter-clockwise until you have your diamond shape defined by the four ends of the dowels.
- Use the scissors to cut out this diamond shape.
- Next, attach the longer dowel to the center of the diamond shape using tape, as well as taping the ends of the dowel to the paper as well. Make sure to securely fasten it to ensure the kite maintains its shape.
- Attach the shorter dowel horizontally to the center of the longer dowel, forming a “T” shape. Again, ensure that it is securely fastened to keep the kite's shape by taping the two dowels together, and taping the end of the shorter dowel to the paper.
- Tie a piece of string or twine to both ends of the shorter dowel. The string should be taut, but not too tight.
- Cut another piece of string or twine and tie it tautly to both ends of the longer dowel.
- Tie a long piece of string or twine (ten or more feet long) to both of the previous strings at the point where they cross each other. This will be used to fly the kite.
- To fly the kite, hold it by the long string and let it catch the wind. Run a few steps and watch as the kite soars into the sky.
- If desired, add streamers or ribbons to the bottom of the kite for added decoration and to help with stability.
By following these simple instructions, you can make your own kite using just a few things you might already have. This activity is not only fun but also a great way to get creative and learn how kites work.
Next time you're looking for an outdoor activity to do, try making your own kite and see how high you can fly it!